

First, some context: this is a simplified form of notation that promises a quick way to start playing. Many people choose it so they can play straight away without reading music. Be careful: this approach can also limit your musical independence.
My practical aim is to explain when to use it, how to work with it and, above all, how to move beyond it gradually. The idea is to build useful habits without getting stuck.
I suggest choosing an approach according to the setting—playing for pleasure, lessons, a band or a jam session—and your current priority: tone, rhythm, intonation or repertoire. That perspective will help you decide.
The key distinction is that following key positions and fingerings is different from understanding the staff, beats and dynamics. We will look at practical alternatives: reading treble clef, using a metronome and tuner, and doing sight-reading exercises.
The guiding idea: use the method as a springboard for real musical progress.
Understanding what “tablature” means for saxophone
It is essential to understand what this visual system involves on the instrument. In practice, it focuses on the key mechanism: diagrams show which keys to close and indicate the sequence of pitches.
What a fingering diagram actually conveys
The diagrams show fingerings and often a sequence of notes. They make it easier to find your way around the instrument quickly. However, they rarely show the exact duration of sounds or the structure of the piece.
The key difference from a treble-clef score
On a treble-clef staff, each position on the five lines or in the spaces represents a specific pitch. The treble clef places G on the second line. A proper score combines pitch with rhythm, bar lines and clearly marked beats.
What is usually missing
- note values and rests;
- dynamics (ppp to fff) and expressive directions;
- repeat signs, ending brackets and indications of form.
In short: used alone, this guide lets you play the pitches, often without reliable timing. That is enough to get started, but it becomes limiting as soon as you share a tempo with other musicians.
Saxophone tablature: helpful or a trap for learning?
Few things are more rewarding than hearing yourself play a tune in your first session. When playing alone or for pleasure, a visual guide helps you place your fingers quickly and keeps you motivated. You learn a simple piece, keep practising and build momentum.

As a teaching aid, this tool reduces the initial difficulty. Beginners get an audible result, which encourages regular practice and memorisation.
When it becomes a trap
The risk arises when you become dependent on the diagram. You may struggle to transpose, read a chord chart or score, or keep your place when rehearsing with others.
In a group, musicians talk about rhythm, bars and dynamics rather than which keys to press. That difference slows progress and limits independence.
Choosing according to your goal
| Goal | Acceptable use | Advice |
|---|---|---|
| Playing for pleasure | High | Use it for a quick start, then broaden your practice. |
| Lessons | Moderate | Combine quick wins with reading and rhythm exercises. |
| Jam session / band | Low | Limit its use. Prioritise listening and reading music. |
| Conservatoire | Very low | Focus on the score, tempo and form. |
A practical rule: if your goal includes playing with others, use this tool temporarily and pair it with practice in reading music and rhythm.
When tablature really helps a beginner saxophonist
For beginners, identifying where the left and right hands go helps build confidence more quickly. Locating the main keys and fingering groups reduces the time spent searching around the instrument.
Finding your way around the instrument quickly
A visual guide shows which keys to close and how to coordinate both hands. This makes positions easier to remember and helps prevent basic mistakes.
Playing a simple melody without mastering all of music theory
Choose a short melody, such as a nursery rhyme or pop theme. Playing a few bars gives you a motivating result without having to read the entire score.
Reducing mental overload and focusing on breath
At first, the embouchure, posture and sound production already demand a lot of attention. Keeping the visual information simple lets you work on air flow (abdominal breathing) and keep your throat relaxed.
- A realistic goal: play a short melody and repeat it cleanly.
- A sensible limit: once you move beyond a few bars or play with a metronome or backing track, start reading rhythm.
- A suggested routine: begin with the visual guide, then immediately add the note name and duration to reinforce your progress.
To turn this start into lasting progress, follow a gradual method and consult suitable practice resources, such as an article about repertoire and technique.
The real risks to your musical progress
Early ease can conceal gaps that hold back your musical progress. Here are the consequences you may face if you rely only on visual guides without reading note lengths and musical form.
Imprecise rhythm
Without note values and rests, note attacks and lengths vary. You play the rhythm “by ear”, and it lacks precision.
In a group or with a metronome, this imprecision makes collaboration harder and the ensemble sound noticeably loose.
Mistakes with accidentals
Ignoring whole steps and half steps leads to frequent mistakes. Remember: a sharp raises a note by a half step, a flat lowers it by a half step, and a natural cancels an accidental.
An accidental applies throughout the bar. Forgetting it produces wrong notes within the phrase.
Intonation and form
Intonation suffers when you neglect air speed and breath support. Your attention goes to your fingers instead of your sound.
Without repeat signs or first- and second-ending brackets, you can lose track of the form and no longer know where to return.
| Risk | Cause | Consequence |
|---|---|---|
| Rhythm | Missing note values and rests (quarter notes, eighth notes, rests) | Difficulty with a metronome and in a group |
| Accidentals | Unfamiliarity with half steps and the rule for accidentals within a bar | Wrong notes in the phrase |
| Intonation | Focusing on fingerings instead of breath | Unstable sound and imprecise intonation |
| Form | Missing bar lines and repeat indications | Losing your place at repeats |
A simple test: if you cannot say how long a note lasts, which bar you are in and which repeat comes next, relying on this guide is holding you back.
A solution: learn to read a practical score for saxophone
Reading a score suited to your playing makes a real difference: you gain independence and musicality. Start by memorising the note names C D E F G A B in both directions. This exercise speeds up note recognition and anticipation.
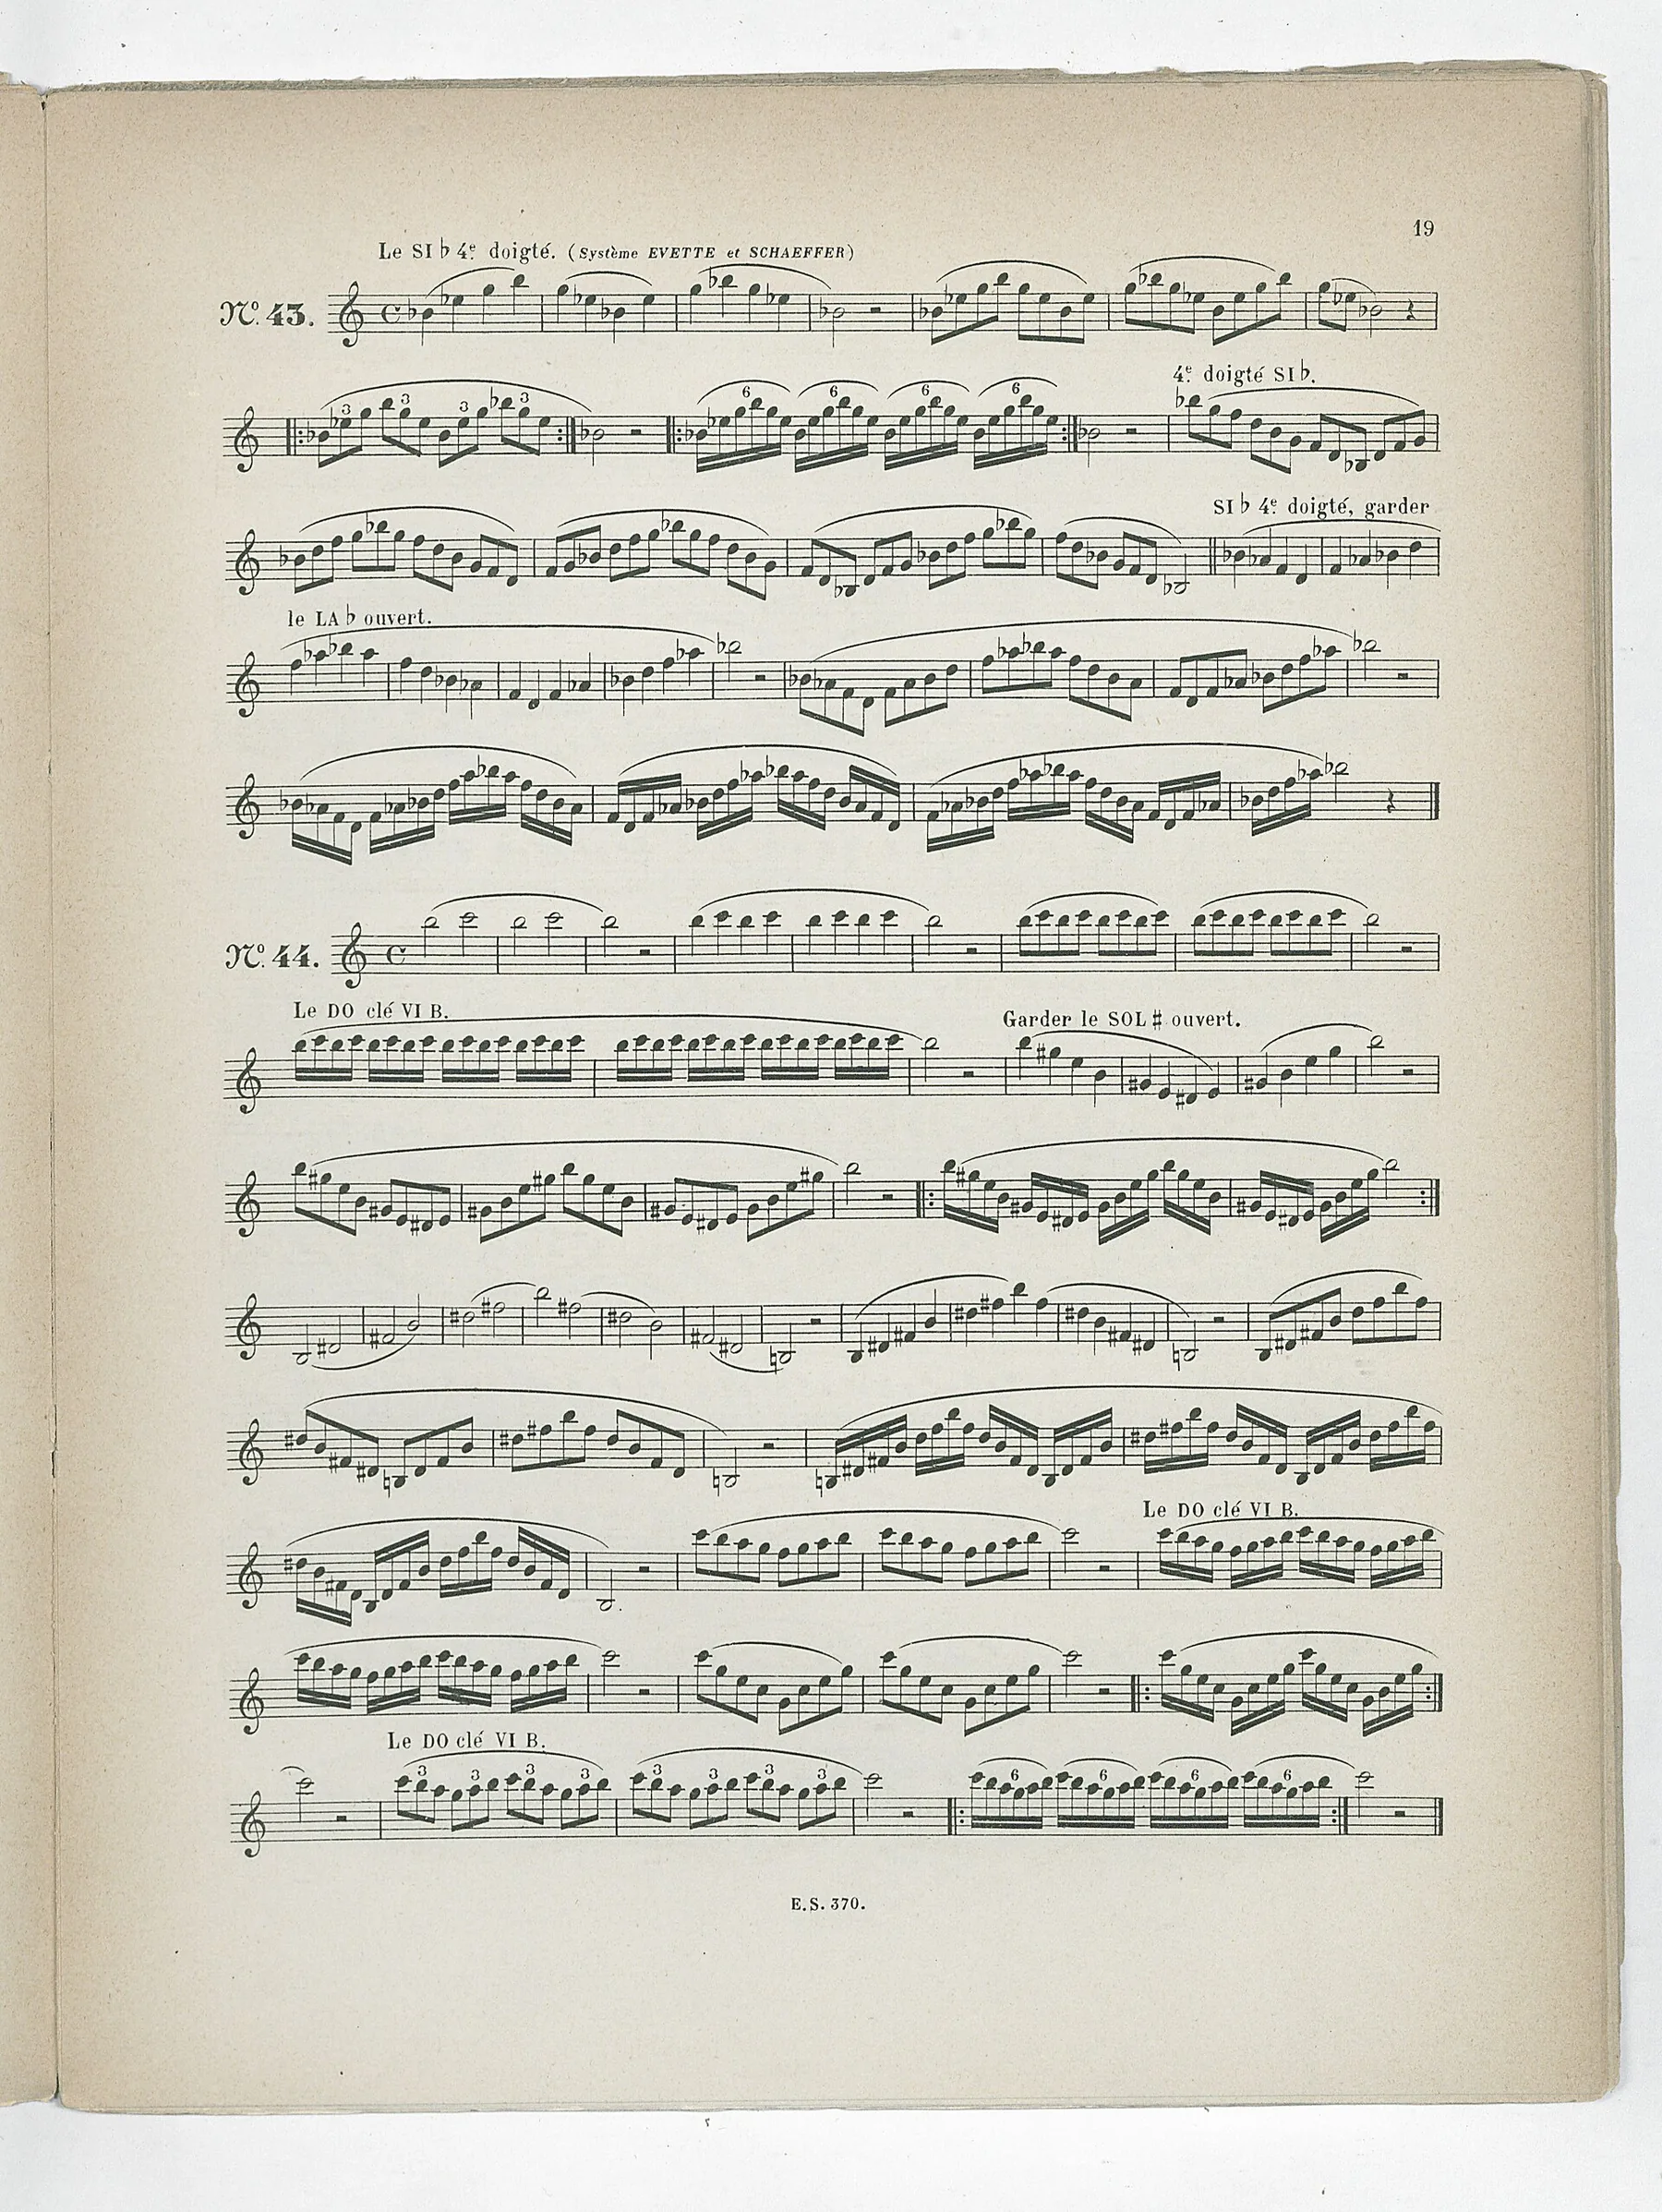
Memorising and locating notes
The staff has five lines; the treble clef places G on the second line. Learn to distinguish lines from spaces so you can find the pitch without looking at a fingering diagram.
Tempo, beats and the metronome
Use the quarter note as your reference: one click marks the start of a beat. Practise the pulse with a metronome to stabilise your tempo and make your phrasing more reliable.
Bars and time signatures
Understand the symbols 4/4, 3/4, 2/4, C and cut time. Bar lines divide the piece; use them to isolate short passages for practice.
Dynamics and musicality
Include dynamics (ppp → fff). Moving from simply playing the notes to making music means respecting changes in volume and expressive intent.
- A simple method: spend 10 minutes reading and 10 minutes practising rhythm with a metronome on a short excerpt.
- The result: better intonation, better timing and a clearer understanding of the structure.
Connecting notes and fingerings without depending on tablature
Real progress comes when you think of the note before moving your fingers. The goal is clear: develop an automatic link between note and fingering that makes you independent of the visual guide.
Build a mental map: start with natural notes (the C major scale), then add accidentals and common note patterns. Practise separately on alto, tenor and soprano: the fingerings are similar, but their range and transposition (E-flat for alto) affect your playing.
Master accidentals by repeating the chromatic scale. This exercise covers all 12 pitches and helps you understand whole and half steps. Then try reading games: “flash reading” (note → fingering) and the Play the Notes game to connect a symbol, sound and movement instantly.
A simple routine: 5 minutes of reading, 5 minutes of chromatic scales and 5 minutes applying them to an excerpt. A sign that you are ready to move on: you can name a note before playing it and hold it in time with a metronome. Your dependence on the visual guide will then drop substantially.
“Name it, finger it, play it”: three practical steps for automatic recognition.
To go further, consult sight-reading exercises suitable for saxophones and group playing.
A daily practice method for quick progress without skipping steps
Organising each session into focused blocks speeds up progress without exhausting your attention. Plan a warm-up (tone), technique (scales), a study or sight-reading, repertoire, then active listening.
Planning a balanced session
For example: 5 minutes of tone work, 15 minutes of scales, 20 minutes of reading or study, 20 minutes of repertoire and 10 minutes of listening. This pattern keeps the session varied and effective.
Breaking up practice and taking breaks
Divide your work into blocks of 15 to 20 minutes. Take a short break of about 4 to 5 minutes every 45 minutes to maintain concentration.
Repetition and quality
Follow this rule: play a passage correctly 3 times in a row without a mistake before increasing the tempo. If you make a mistake, slow down and start again.
Practising slowly, then speeding up
Always start slowly. This prevents rhythm or fingering mistakes from becoming ingrained. Increase the tempo in stages once you have mastered the movement.
Isolating a difficult passage
Do not replay the whole piece from start to finish. Isolate 1 or 2 bars, practise the movement, then put the fragment back into the piece.
Practising fingerings without blowing
Move your fingers without blowing to memorise the movements and relax your hands. It is an effective way to repeat a passage without tiring yourself.
“A session should focus on no more than 1 or 2 priorities: work carefully on what matters most instead of piling on exercises.”
| Activity | Duration | Purpose |
|---|---|---|
| Warm-up (tone) | 5 min | Stabilise intonation |
| Technique (scales) | 15 to 20 min | Improve fingering accuracy |
| Study / sight-reading | 15 to 20 min | Develop rhythm and sight-reading |
| Repertoire | 15 to 20 min | Develop musicality and memory |
| Active listening | 10 min | Build a sound reference |
Rhythm, tempo and bars: what tablature hides most
Rhythm is the element most often missing from a simple fingering diagram. Tablature shows what to play, but rarely how long to hold a note or when to be silent. Without these indications, group playing sounds imprecise.
Note values, dots and ties for holding notes correctly
Learn the values of whole, half, quarter and eighth notes, along with their rests. A dot adds half the original value; a tie combines the durations of the joined notes.
These concepts prevent notes from being held too briefly or too long and improve coordination within a group.
Playing with a metronome and shifting the pulse
Try this: play an excerpt at three different tempos. Then place the click on beats 2 and 4 to feel the groove.
Practise at half time and double time: this changes how you perceive the tempo without losing a steady beat.
Repeats and ending brackets: reading the form without getting lost
Treat repeat signs as markers that show where to return. First- and second-ending brackets show the path through the music.
A simple example: take 4 bars, count them aloud, mark the rests and repeats, then play while following those indications.
Count, mark, play—repeat until following the piece becomes second nature.
To explore rhythmic reading further, consult a guide to notation and form: a practical approach to sight-reading.
Tone, breath and intonation: essential with or without tablature
Good tone develops with every breath, not just with every fingering. Even when your fingers are in the right place, the real work is producing the note with your air and embouchure.
Breathing deeply and exhaling with control
Engage your abdomen as you breathe: keep your throat relaxed and use your diaphragm. Breathe in fully, then breathe out while controlling air pressure and speed.
Long tones to centre your sound
Spend 10 to 15 minutes on long tones: hold a note, listen for stability, then crescendo and decrescendo. Move around the room to hear the changes in tone differently.
Checking intonation with exercises
Notice how air flow affects pitch. Practise octave exercises and compare your positioning. This improves intonation and gives you a reliable reference.
Recording and listening to yourself
Record yourself regularly to correct your embouchure, posture and rhythmic consistency. This objective feedback speeds up progress.
A reminder: 10 minutes of quality practice every day is better than occasional long sessions; a beautiful tone develops over several months, often after 1 to 2 years of regular practice.
Right-hand and left-hand technique: practising fingerings for greater accuracy
To improve speed and consistency, begin by separating finger movement from sound production. This method focuses on fingerings and hand mechanics without tiring your embouchure.
Practising without blowing to memorise movements and relax your fingers
The principle is simple: slowly repeat a passage with your fingers in position, without blowing. This practice reduces tension and makes note patterns easier to remember.
Benefit: you can correct the consistency of your movements without being distracted by the sound. It rests your embouchure and helps you develop automatic movements on the instrument more quickly.
Keeping your fingers close to the keys to improve coordination and speed
Keep your fingers close to the key cups and limit their movement. The less they lift, the sooner they return to the keys.
Lifting your fingers too high creates timing differences. Practising this movement directly improves tempo accuracy.
A simple method: practise a difficult passage very slowly for 30 to 60 seconds. Then play the same pattern while blowing, with a metronome. If you lose accuracy, return to practising without blowing.
| Goal | Duration | Method |
|---|---|---|
| Make a note pattern automatic | 30 to 60 sec | Fingerings only, very slowly |
| Check coordination | 1 to 2 min | Fingerings with a metronome, then with breath |
| Speed up with control | Gradually | Lift your fingers less while staying in control |
For example, practise the fingerings of a scale or two bars, then play them with sound and return to silent fingering if needed. Done regularly, this undemanding exercise changes how your hands learn to play the instrument.
Choosing pieces and styles: classical, jazz and marching bands
Your chosen style shapes how you practise and which technical skills you prioritise. Choosing a piece you like encourages consistency and speeds up progress.
Why jazz puts the saxophone centre stage
Jazz often gives the instrument a leading role. That calls for a strong groove, flexible articulation and a repertoire of short phrases.
Recommended practice: repeat licks, transpose short phrases and do ear training so you can hear a phrase before you play it.
Classical music: precision and fidelity to the score
Classical music calls for accurate reading, dynamics and a clear tone. Practice focuses on intonation, sustained notes and controlled articulation.
Marching bands and pop: endurance and rhythmic strength
These styles call for stamina, good ensemble intonation and strong rhythmic reading. Prioritise steady breath support and clear note attacks.
Improvising, transcribing and absorbing ideas
Begin improvising with short licks (1 to 4 bars). Then transcribe: sing the phrase, play it slowly and add it to your repertoire.
Tip: choosing a style that excites you is the best way to keep improving over time.
Tools and resources for learning today (France)
The right tools speed up progress when you use them purposefully every day. A simple selection of apps and printed materials helps you stabilise rhythm and pitch.
Metronome and tuner: working on tempo and intonation every day
Basic equipment: a metronome (an app or website) and an online tuner. These tools establish the tempo and let you check your intonation before starting a piece.
A suggested routine: 5 minutes with a metronome (pulse and simple subdivisions), then 5 minutes using a tuner on sustained notes.
Lessons, a teacher or self-study: choosing what suits you
Taking lessons is still advisable if you lack technical foundations or hope to join a conservatoire or ensemble. A teacher can correct your posture, embouchure and practice method.
Self-study works if you practise regularly, know how to record yourself and use structured resources.
Useful materials: scores, study books, games and websites
Choose scores that show notes, rhythm and bars. Add study books, note-reading games and printable worksheets.
| Tool | Use | Recommendation |
|---|---|---|
| Metronome (app or website) | Stabilise tempo | 5 to 10 min per session |
| Tuner (online) | Check intonation | Long tones and octaves |
| Scores / study books | Reading and technique | Progressive excerpts |
A quality test: a good resource includes at least notes, rhythm and bar lines. Explore websites devoted to music theory, score libraries and exercise websites to enrich your sessions.
Tip: alternate 5 minutes with a metronome and 5 minutes with a tuner before playing saxophone to improve your group playing.
Conclusion
Take a gradual approach that turns a quick start into lasting skill.
Summary: a visual guide helps at the beginning, but its use should be limited and supported so it does not hold back progress. If you want to play with other musicians, reading scores and mastering rhythm must take priority.
The essentials remain simple: tone and breath, steady tempo, note reading, understanding form, then style and musicality. This approach applies to the saxophone and other instruments in its family.
A two-week plan: alternate reading (notes and rhythm), technique (scales), short repertoire pieces and recording yourself. Work on a small number of ideas in each session until you master them.
The ultimate goal: gain independence and play saxophone with confidence. Choose a simple piece, practise with a metronome, mark the bars, identify the repeats and track your progress from session to session.