

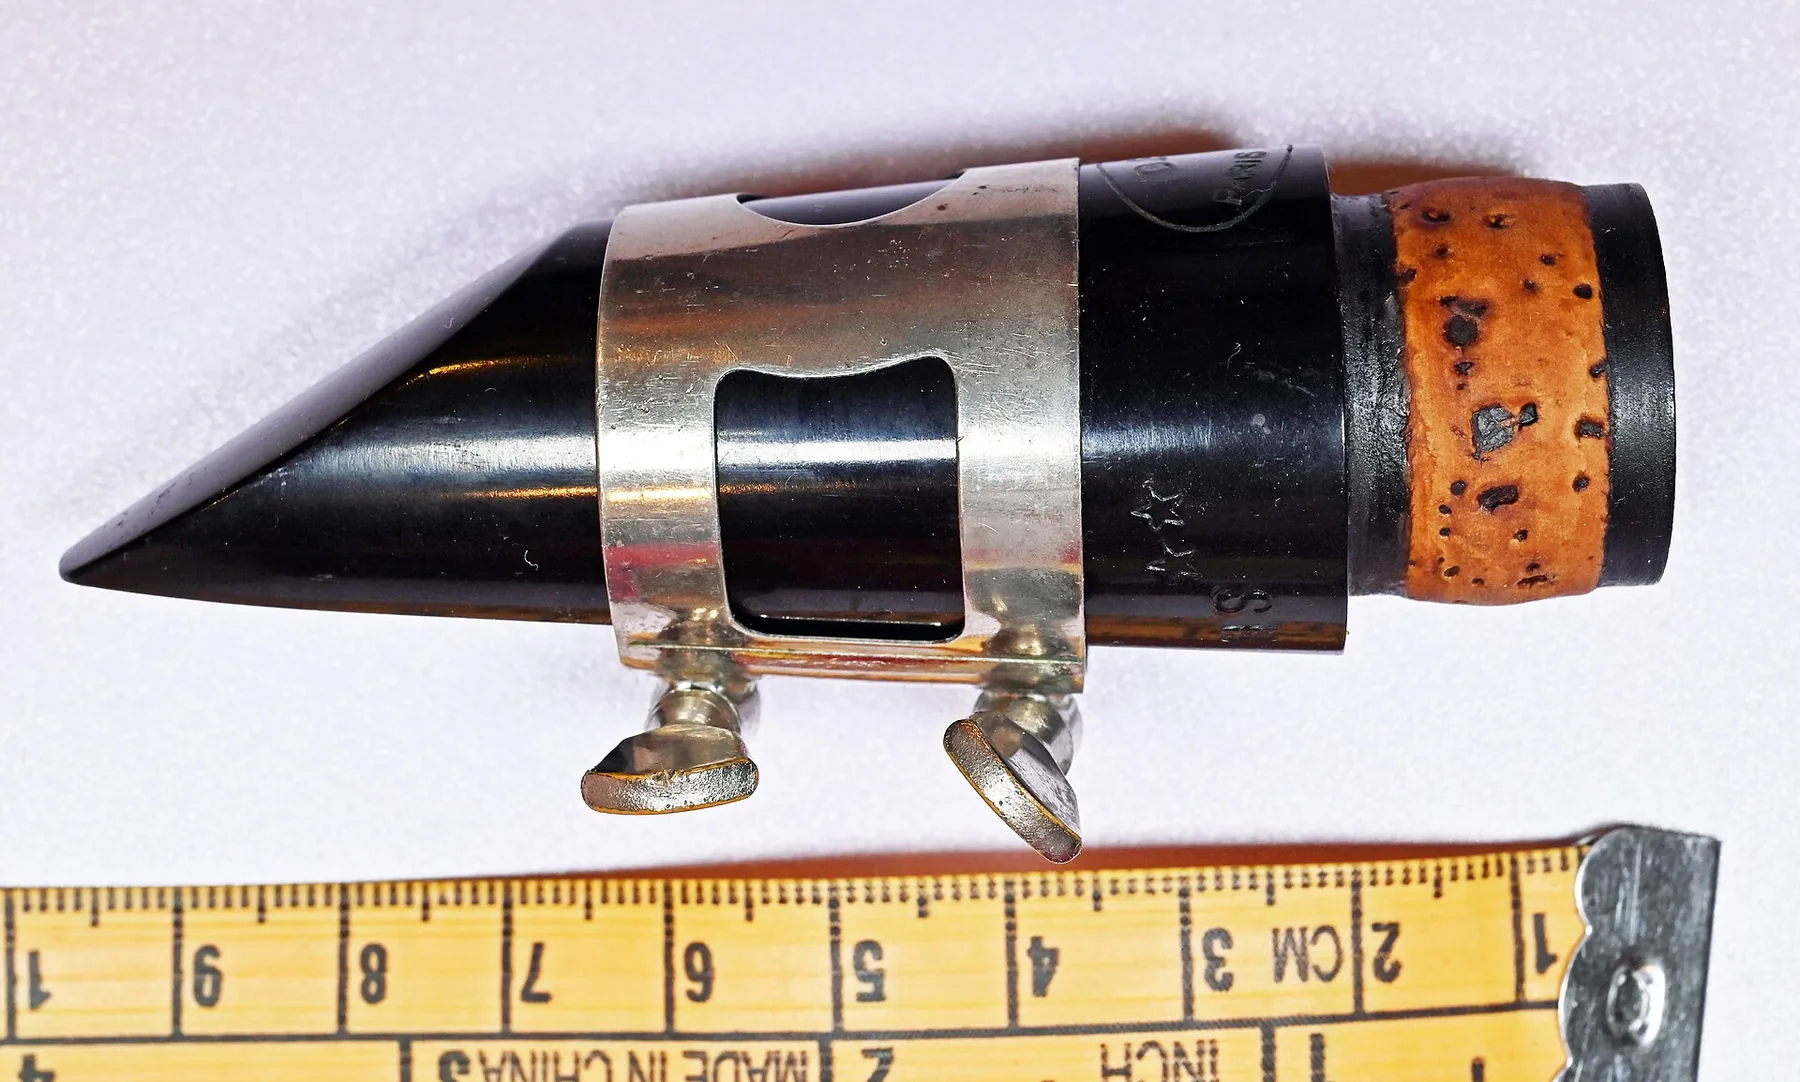
The central challenge: achieving a beautiful tone, volume and projection without sacrificing ease of playing. This challenge affects beginners, intermediate players and those returning after a break.
Sound begins when the reed vibrates against the mouthpiece and the breath sets the air column in motion. A mouthpiece with too large a tip opening requires more air and quickly becomes difficult to control.
This article explains common causes of playing difficulties, how to choose and adjust your equipment, and simple technique changes that improve sound production.
Typical symptoms include rapid fatigue, muffled notes, unstable intonation and squeaks. We offer quick checklists, adjustments you can make in minutes, and practical advice on tip opening, reed strength, assembly and posture.
Note: if the instrument leaks or is poorly adjusted, changing the mouthpiece or reed will not solve every problem. If in doubt, have the instrument checked.
Understanding the balance between sound and comfort on tenor saxophone
Finding a good balance between a warm tone, projection and comfort takes coordination between technique and equipment. Your equipment directly affects how you play: a suitable setup lets you play for longer without tension.
Why the tenor requires a compromise
Depending on your musical goal, you might favor a rounded sound for lyrical music, a bright sound for funk or projection for a big band. Each choice changes the resistance you feel and the amount of breath you need.
Warning signs to watch for
Watch for tired cheek muscles, a tense jaw and notes that fail to speak cleanly. Squeaks at the start of notes or a muffled sound are clear signs of a setup problem.
Unstable intonation often comes from changing embouchure pressure, uneven airflow or unsuitable resistance. Beginners sometimes play too loudly: practicing at a piano dynamic helps you find the minimum amount of air needed.
A simple one-week method: note when difficulties arise, such as at the end of a session, in the low or high register, or at forte or piano dynamics. This quick observation helps you determine whether the cause is equipment, fatigue or technique.
The aim is to find a setup that lets you play cleanly for extended periods while gradually improving control, instead of immediately forcing more volume. For help choosing equipment, see this page of recommended equipment.
How the reed, mouthpiece and air column create sound
Sound production depends on precise contact and steady airflow. First, your breath makes the reed vibrate against the mouthpiece. These vibrations generate waves that the air column in the conical body amplifies and shapes.
Single-reed vibration and the mouthpiece’s role in response
The shape of the mouthpiece affects how easily notes start and how much resistance you feel. A suitable mouthpiece helps the reed vibrate and colors the tone.
How the oral cavity and an airtight embouchure affect sound
The shape of the mouth and the position of the tongue alter resonance: a cavity that is too closed produces a strained sound, while one that is too open produces an unfocused sound.
An airtight embouchure prevents air leaks. Without a good seal, attacks lose clarity and you may compensate with excessive pressure.
Air column, keys and pitch: what really affects your control
The keys change the length of the vibrating air column and therefore the pitch of the notes. If the airflow is uneven, note sustain, attacks and intonation suffer.
“Check the reed and mouthpiece first; then make sure your airflow is continuous before blaming your fingering.”
Tenor saxophone mouthpiece: finding the balance between sound and comfort
The distance between the reed and the mouthpiece tip defines the tip opening. This simple measurement explains why a more open mouthpiece needs more air and leaves less room for error.
A practical rule: if you have to push hard to get volume, or if your sound becomes unstable when you change dynamics, the opening is probably too large for your current level.
The baffle affects your sense of control. A high baffle offers more power but requires finer control; a straight or low baffle tends to feel more stable at first.
Choose according to your goal:
- Rounded sound: small tip opening, comfort and stability.
- Bright sound: moderate tip opening, more harmonics and greater demands on the player.
- Projection: match the mouthpiece and reed to balance power and control.
Avoid choosing a mouthpiece that is too advanced: an overly demanding model can slow your progress and create tension. Beginner options to try include the Yamaha 4C, Selmer S80 C and Syos Originals Smoky 5.
Pairing the right reed with the right mouthpiece for easy response
Think of the reed and mouthpiece as a system: changing reed strength without considering the tip opening often creates what seems to be a breath or tone problem.
Why an overly stiff reed causes fatigue: it demands more muscular effort and a very steady air column. The result is a thin sound, difficult attacks and shortness of breath.
- Suggested progression for a beginner: strength 2 → 2.5 → 3, depending on your ability to sustain long notes and maintain stable intonation.
- Practical test: play at piano and mezzo dynamics without squeaks for several days; if the result stays consistent, try the next strength.
Quick tip: move a reed that feels as stiff as a board back by 1 to 2 mm to make it easier to play. Move a reed that is too soft very slightly forward to increase resistance, but treat this adjustment as a temporary fix.
Symptoms: a reed that feels as stiff as a board produces a small sound, causes cramping and makes attacks difficult. A reed that is too soft produces an unstable sound with little body. If necessary, change reeds and take breaks while developing your embouchure muscles.
To share your experience or ask a technical question, visit the discussion page.
Assembling the mouthpiece, ligature and reed correctly for a stable tone
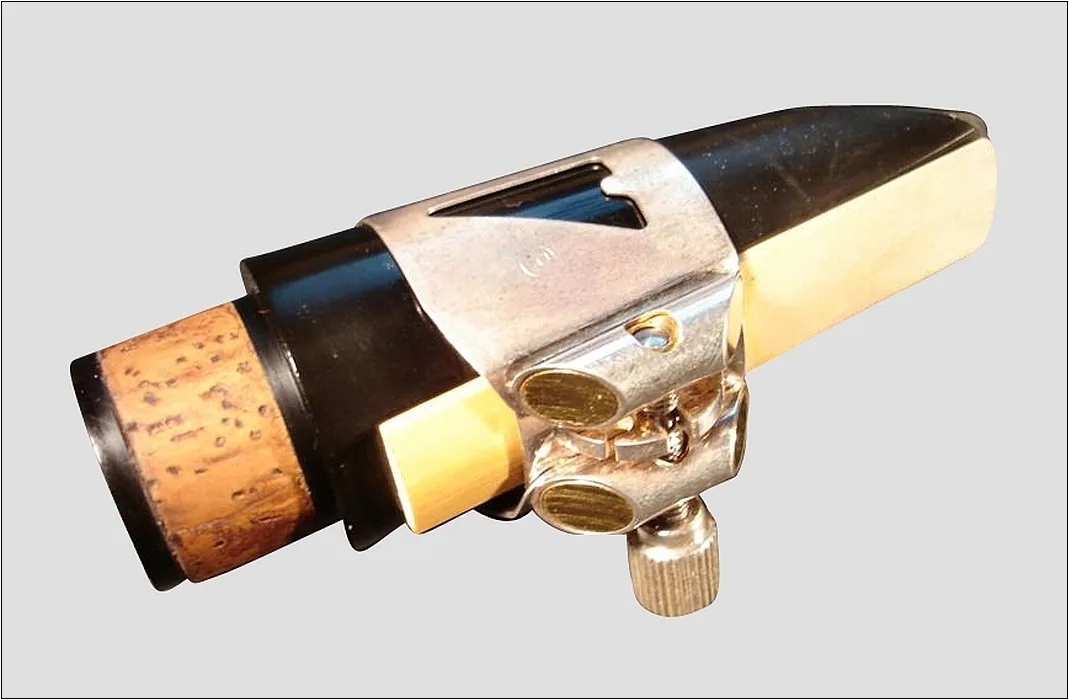
Careful assembly is often the quickest fix for unstable notes. Before each session, clean the mouthpiece table, moisten the reed, align it and tighten the ligature gradually.
A simple, repeatable procedure:
- Check that the mouthpiece table is clean and dry.
- Moisten the reed for a few seconds so it follows the curve.
- Align the reed tip with the mouthpiece tip, without shifting it to either side.
- Position the ligature and tighten it gradually.
The “finger trick”: place a finger at the end of the mouthpiece. Slide the reed gently until it touches your finger. Once it does, it is in the correct position, and you avoid damaging the tip.
Common mistakes and symptoms:
- Reed set crooked → squeaks and whistling attacks.
- Ligature too tight on one side → low notes that drop out.
- Reed too high or too low → instability in the middle register.
- Dirty or unevenly moistened mouthpiece table → tone that changes with the dynamic.
Two-minute checklist: tip alignment, even tightening, centering, reed condition and cleanliness. If everything looks right and the problem persists, check the instrument or change the reed.
For useful vocabulary reference points, consult this frequency list.
Improving your sound through embouchure work without forcing
Working on your embouchure can immediately improve your playing without unnecessary effort. A small adjustment of the mouth and lips stabilizes sound production and conserves energy.
How much mouthpiece should you take into your mouth?
Finding the contact point between reed and mouthpiece
Look for the point where the reed meets the mouthpiece tip. Place your lower lip around this area to support the vibration without stifling it.
The lower-lip “cushion”
The cushion should be supple but substantial. If the lip is rolled in too far, the tone becomes thin. If it is not rolled in far enough, the vibration lacks substance. Adjust its position until you feel a natural resonance.
Jaw pressure and intonation
Jaw pressure changes pitch: more pressure raises it, while less pressure lowers it. Exercise: hold a long note and gently vary the pressure to hear the difference.
Tuning-fork exercise
To work on control, play a B and adjust the pressure until the beats against the tuning fork’s A disappear. Repeat the exercise for five minutes each session.
Avoiding biting and developing your muscles
Fatigue often makes players bite down on the reed: the sound closes up and attacks become harsh. Take a break as soon as the quality drops.
Practice plan: play short sessions regularly over several days, with breaks. This strengthens the muscles without creating tension.
“A firm but relaxed embouchure gives a fuller sound than forced breath.”
Breathing, posture and the air column: adjustments you cannot see but can hear
A steady air column starts with a simple, repeatable breathing action. Breathe in so your abdomen expands, without raising your shoulders. Breathe out slowly and evenly to feel the air move continuously through the instrument.
Diaphragmatic breathing: supplying air without exhausting yourself
How to do it: breathe in through your nose while expanding your abdomen and keeping your shoulders still. Breathe out while controlling the release of air. This approach produces steady airflow and reduces fatigue.
Body posture and neck-strap adjustment
Keep your torso upright, your neck long and your shoulders relaxed. Adjust the strap so the instrument rests in position without your right thumb carrying its weight. If you feel the weight on your thumb, shorten the strap.
Playing more softly for better control
Practice at a piano dynamic to discover the minimum amount of air you need. Playing more softly improves control and reveals problems to correct instead of hiding them with volume.
Hand position and relaxation
Keep your thumbs near their rests, your fingers close to the keys, and your wrists straight and supple. Relax your hands to prevent pain and improve precision.
- Short routine: 2 minutes of breathing, 5 minutes of long notes at piano and 3 minutes of slow scales.
- Repeat it every day to make the movements more consistent and improve control.
| Problem | Quick adjustment | Expected effect |
|---|---|---|
| Uneven airflow | Diaphragmatic breathing | More stable notes |
| Neck tension | Adjust the strap and align the body | Freer airflow |
| Hand fatigue | Relax the wrists and bring the fingers closer to the keys | Less pain and greater precision |
“Controlled breath and relaxed posture improve control more than forced volume.”
Diagnosing common problems and fixing them in minutes
Identifying the real cause prevents endless trial and error. Start by checking the reed, the assembly and your airflow. Then change one thing and try again.
Sound too weak or muffled: checklist
- Check the reed’s condition: is it too stiff or damaged?
- Check its position on the mouthpiece and the tightness of the ligature.
- Ease the pressure slightly and steady your airflow.
Sound too bright, unstable or squeaky
This problem is often linked to imprecise assembly, a tip opening that is too large or uneven airflow.
Return to gentle playing, try a softer reed or move the reed back by 1 to 2 mm as a temporary fix. Then test attacks and long notes again.
Notes that are difficult to produce
If low notes resist, consider excessive resistance from a stiff reed paired with a large tip opening, or inadequate air support.
Practical exercise: play piano attacks on three notes, one low, one in the middle register and one high, while maintaining breath support.
Intonation that “floats”
Stabilize your embouchure pressure: more pressure raises the pitch, while less pressure lowers it. Tune your B against the tuning fork and work on blending the sounds.
| Situation | Quick action | Expected effect |
|---|---|---|
| Squeaks at high volume | Play softly and check the assembly | Fewer notes that fail to speak cleanly |
| Low notes are difficult in the morning | Warm up the embouchure and play long notes at piano | A freer low register |
| Intonation deteriorates after 20 minutes | Take a break and check the reed | Better intonation again |
A simple rule: change only one variable at a time—reed, tip opening, assembly, pressure or airflow—to find the real cause.
Conclusion
Ultimately, progress depends on matching your equipment to your technique.
Combine an appropriate tip opening, a manageable reed strength and sound breathing technique. Together, they support the air column and prevent fatigue.
Even short daily practice brings quick results: long notes, piano dynamics and tuning-fork exercises are enough to strengthen your embouchure muscles.
Use checklists to diagnose difficulties, change one variable at a time and avoid an overly advanced mouthpiece that could slow your progress.
Once the basics are stable, explore other instruments and saxophones that suit your style and identity as a musician. Aim for a clear goal: play with the mouthpiece in your mouth and produce a stable, in-tune, comfortable sound across the full range before increasing volume.